Creating protocols in Incision Assist is a key part of keeping the Incision Assist platform up to date. While your first protocols are entered by Incision during implementation, you'll soon want to create new protocols yourself. This guide walks you through that process.
Creating a New Protocol
Make sure you're logged in to the Incision Assist Manager, then follow the steps below.
Step 1: Navigate to the Protocols Section
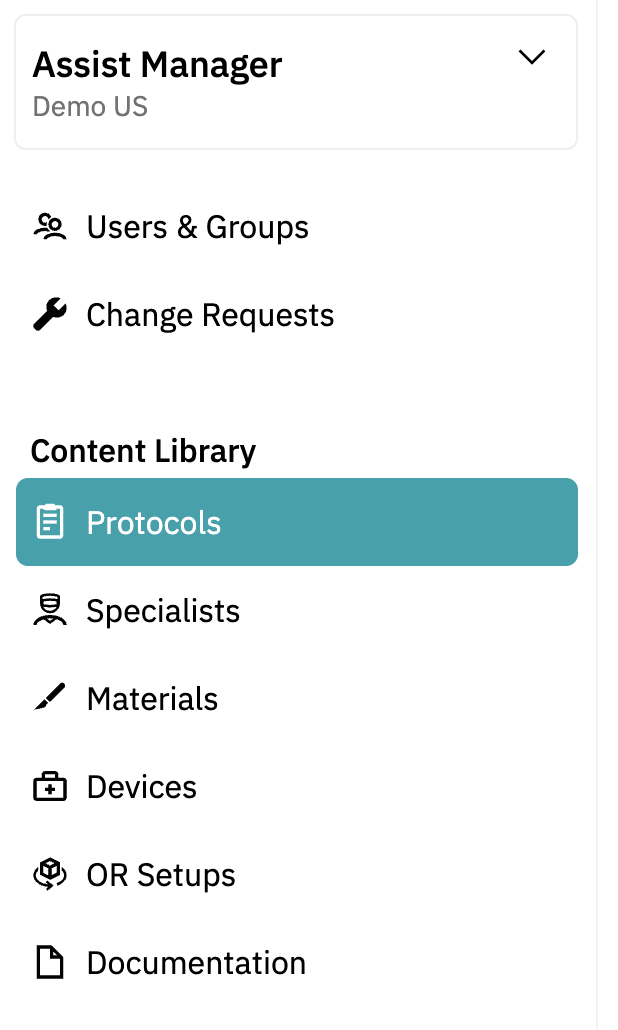
In the left-hand menu, click Protocols.
Step 2: Click “+ New Protocol”
Click '+ New Protocol' on the top right of your screen. You’ll now see two options:
Create a blank protocol
Create a protocol based on an existing protocol

Option 1: Create a Blank Protocol
Click Blank Protocol.
Enter a clear and descriptive Protocol Name.
Select the Procedure the protocol applies to.
Click Save to create your protocol.
You can now begin adding content to each of the protocol’s tabs. For detailed help on those, see our other Support Center articles.
Option 2: Create a Protocol Based on an Existing Protocol
- Use the search bar or scroll through the dropdown list to select a base protocol.
- Example: Laparoscopic Repair of Inguinal Hernia
- Choose whether to base your new protocol on:
- One of your organization’s existing protocols, or
- A template by Incision, if available under “From templates by Incision”.

- Click on the desired base protocol.
- Update the Protocol Name for your new protocol.
- Click Save changes.
Once saved, you can edit all the other tabs to reflect your specific workflows, team practices, or surgeon preferences.
By following these steps, you can efficiently create new protocols, ensuring your colleagues are always equipped with precise and up-to-date information.
Want to learn more? Check out our other guides on how to use the Incision Assist Manager!
Was this article helpful?
That’s Great!
Thank you for your feedback
Sorry! We couldn't be helpful
Thank you for your feedback
Feedback sent
We appreciate your effort and will try to fix the article