Incision Assist Web allows you to prepare all your cases with ease on your desktop. Incision Assist Web is designed to make your surgical preparations smoother and more efficient. Whether you're a seasoned professional or new to our platform, this guide will help you navigate the web version of our trusted Assist app, enabling you to access and manage surgical protocols directly from your desktop.
Log in to Incision Assist
Go to assist.incision.care on your desktop or laptop and log in with your email address and password.
New user? Read our guide on how to register and log in for the first time.
Select Your Organization
Once logged in, you will see a list of organizations associated with your account. Choose your organization from the list to proceed.
Are you an editor? You can switch between Assist Manager and Assist Web using the menu in the top left corner.

Find Your Protocols
After selecting your organization, you will be directed to the dashboard. Here, you can search for and filter through available protocols to find the one you need. The list can be extensive, so utilize the search and filter functions to quickly locate your desired protocol.
Viewing Protocols
Once you've opened a protocol, the menu on the left shows whether you're viewing the standard protocol or a specialist-specific version.
In Incision Assist Web, you can access the following sections:
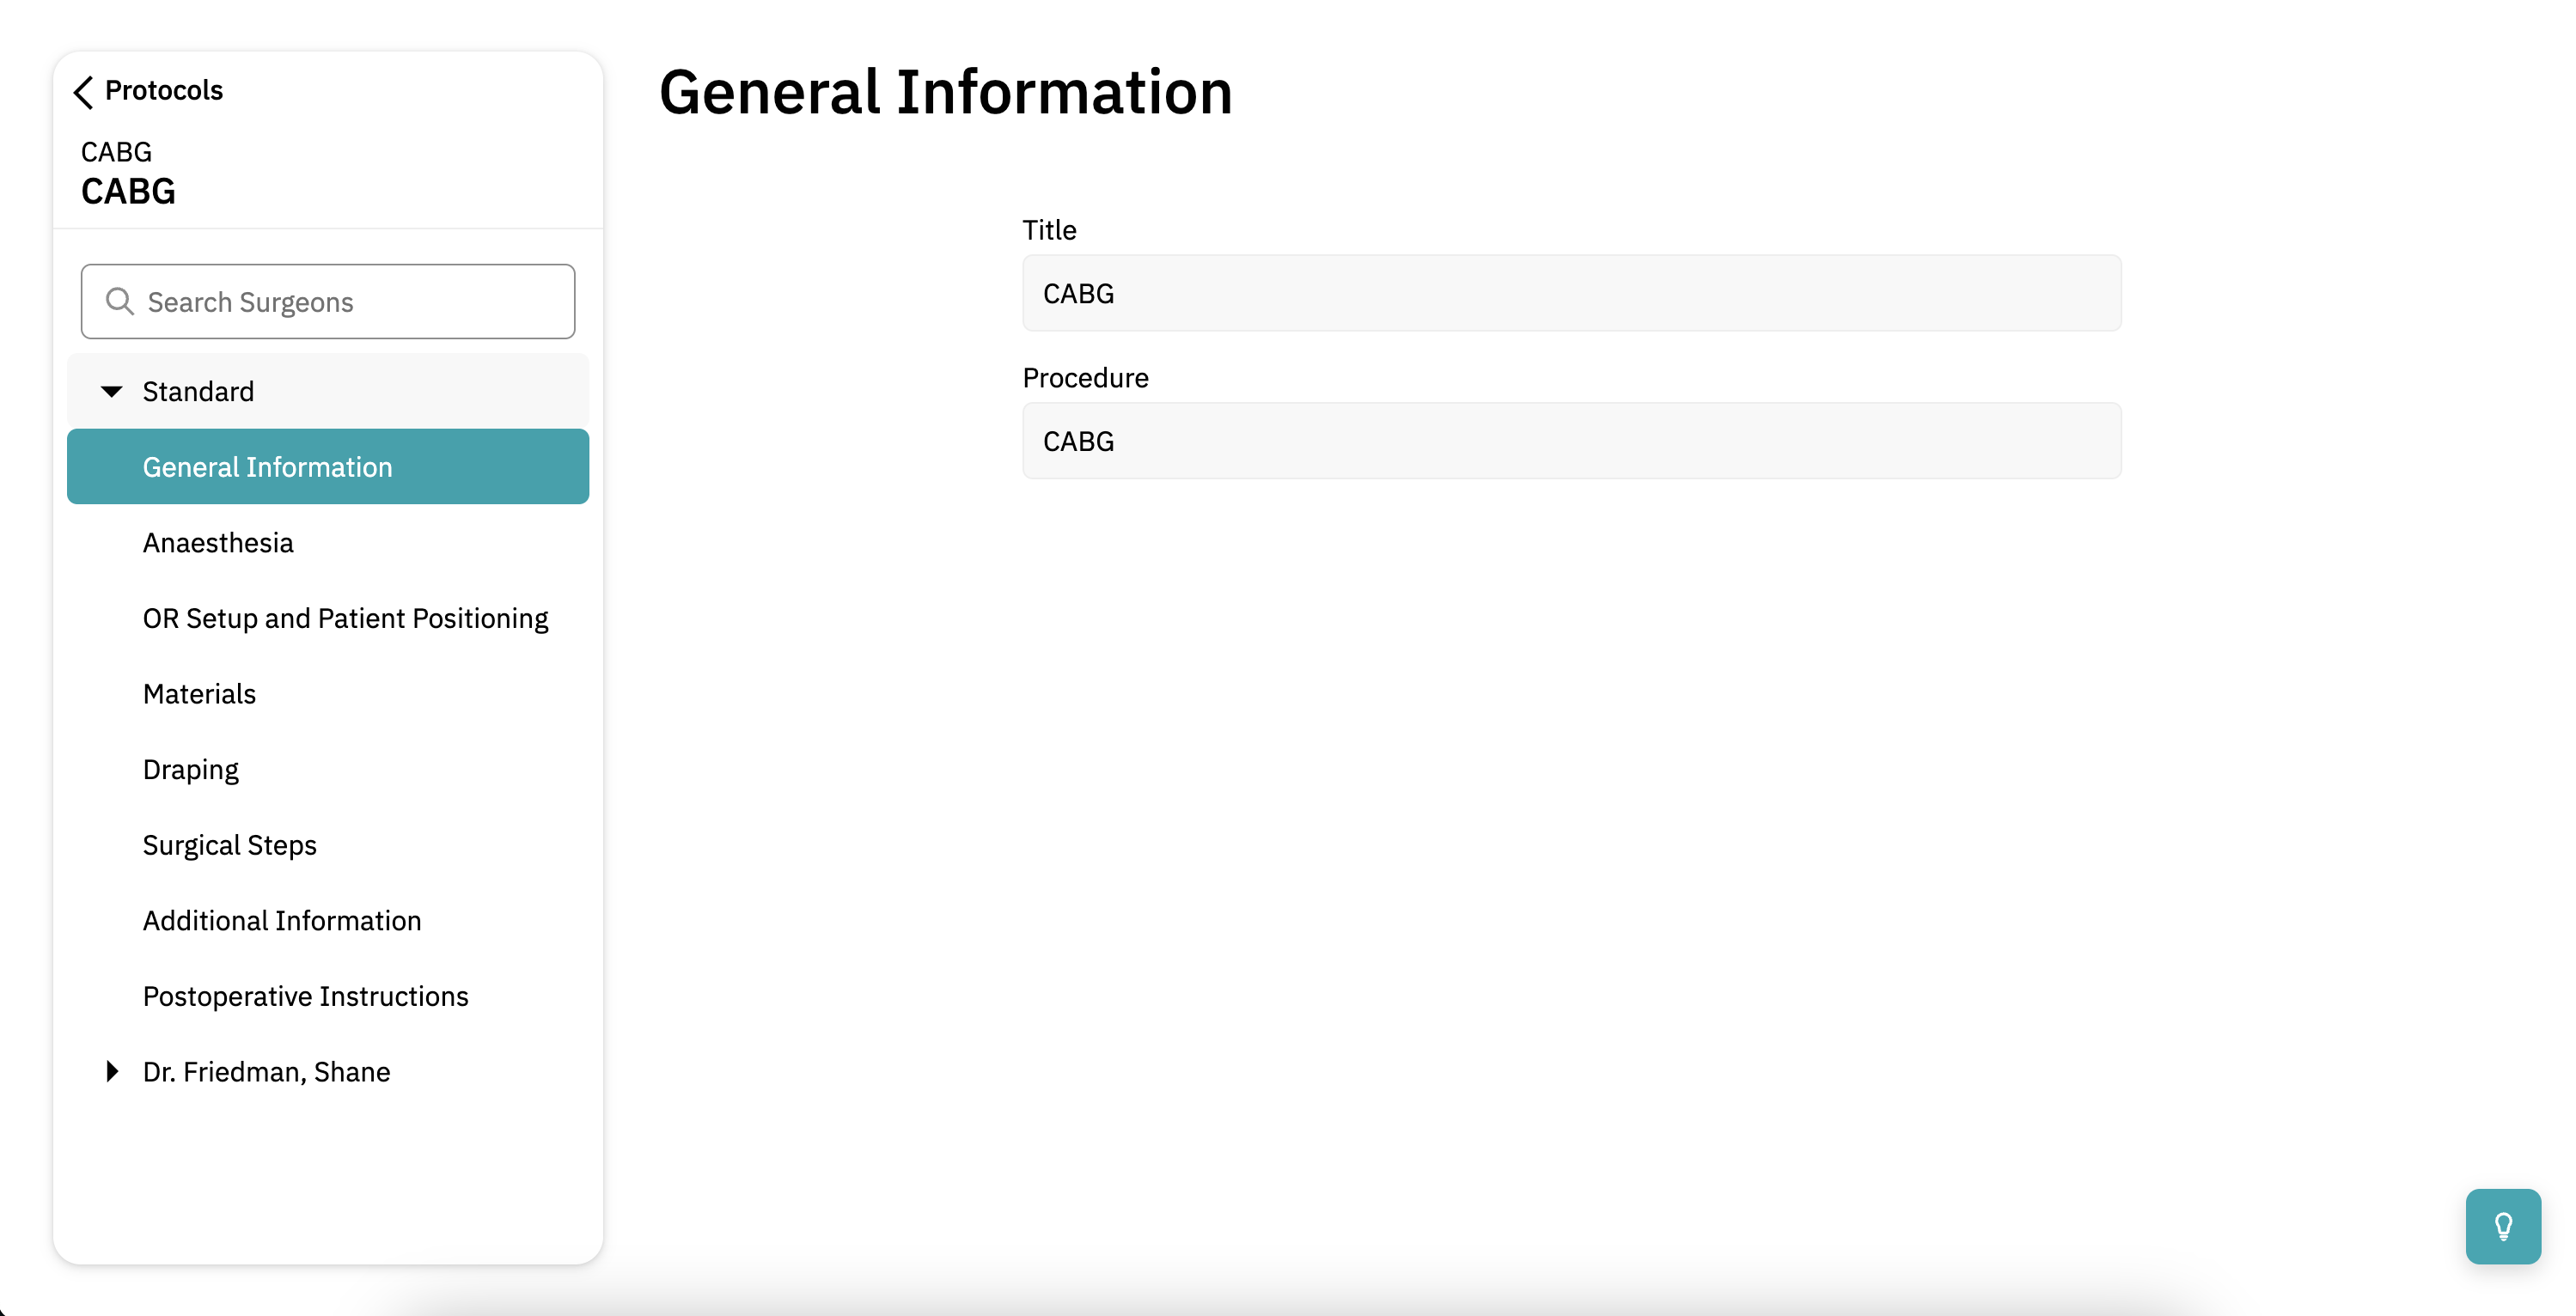
- General information: Click 'General information' for a summary of the procedure.
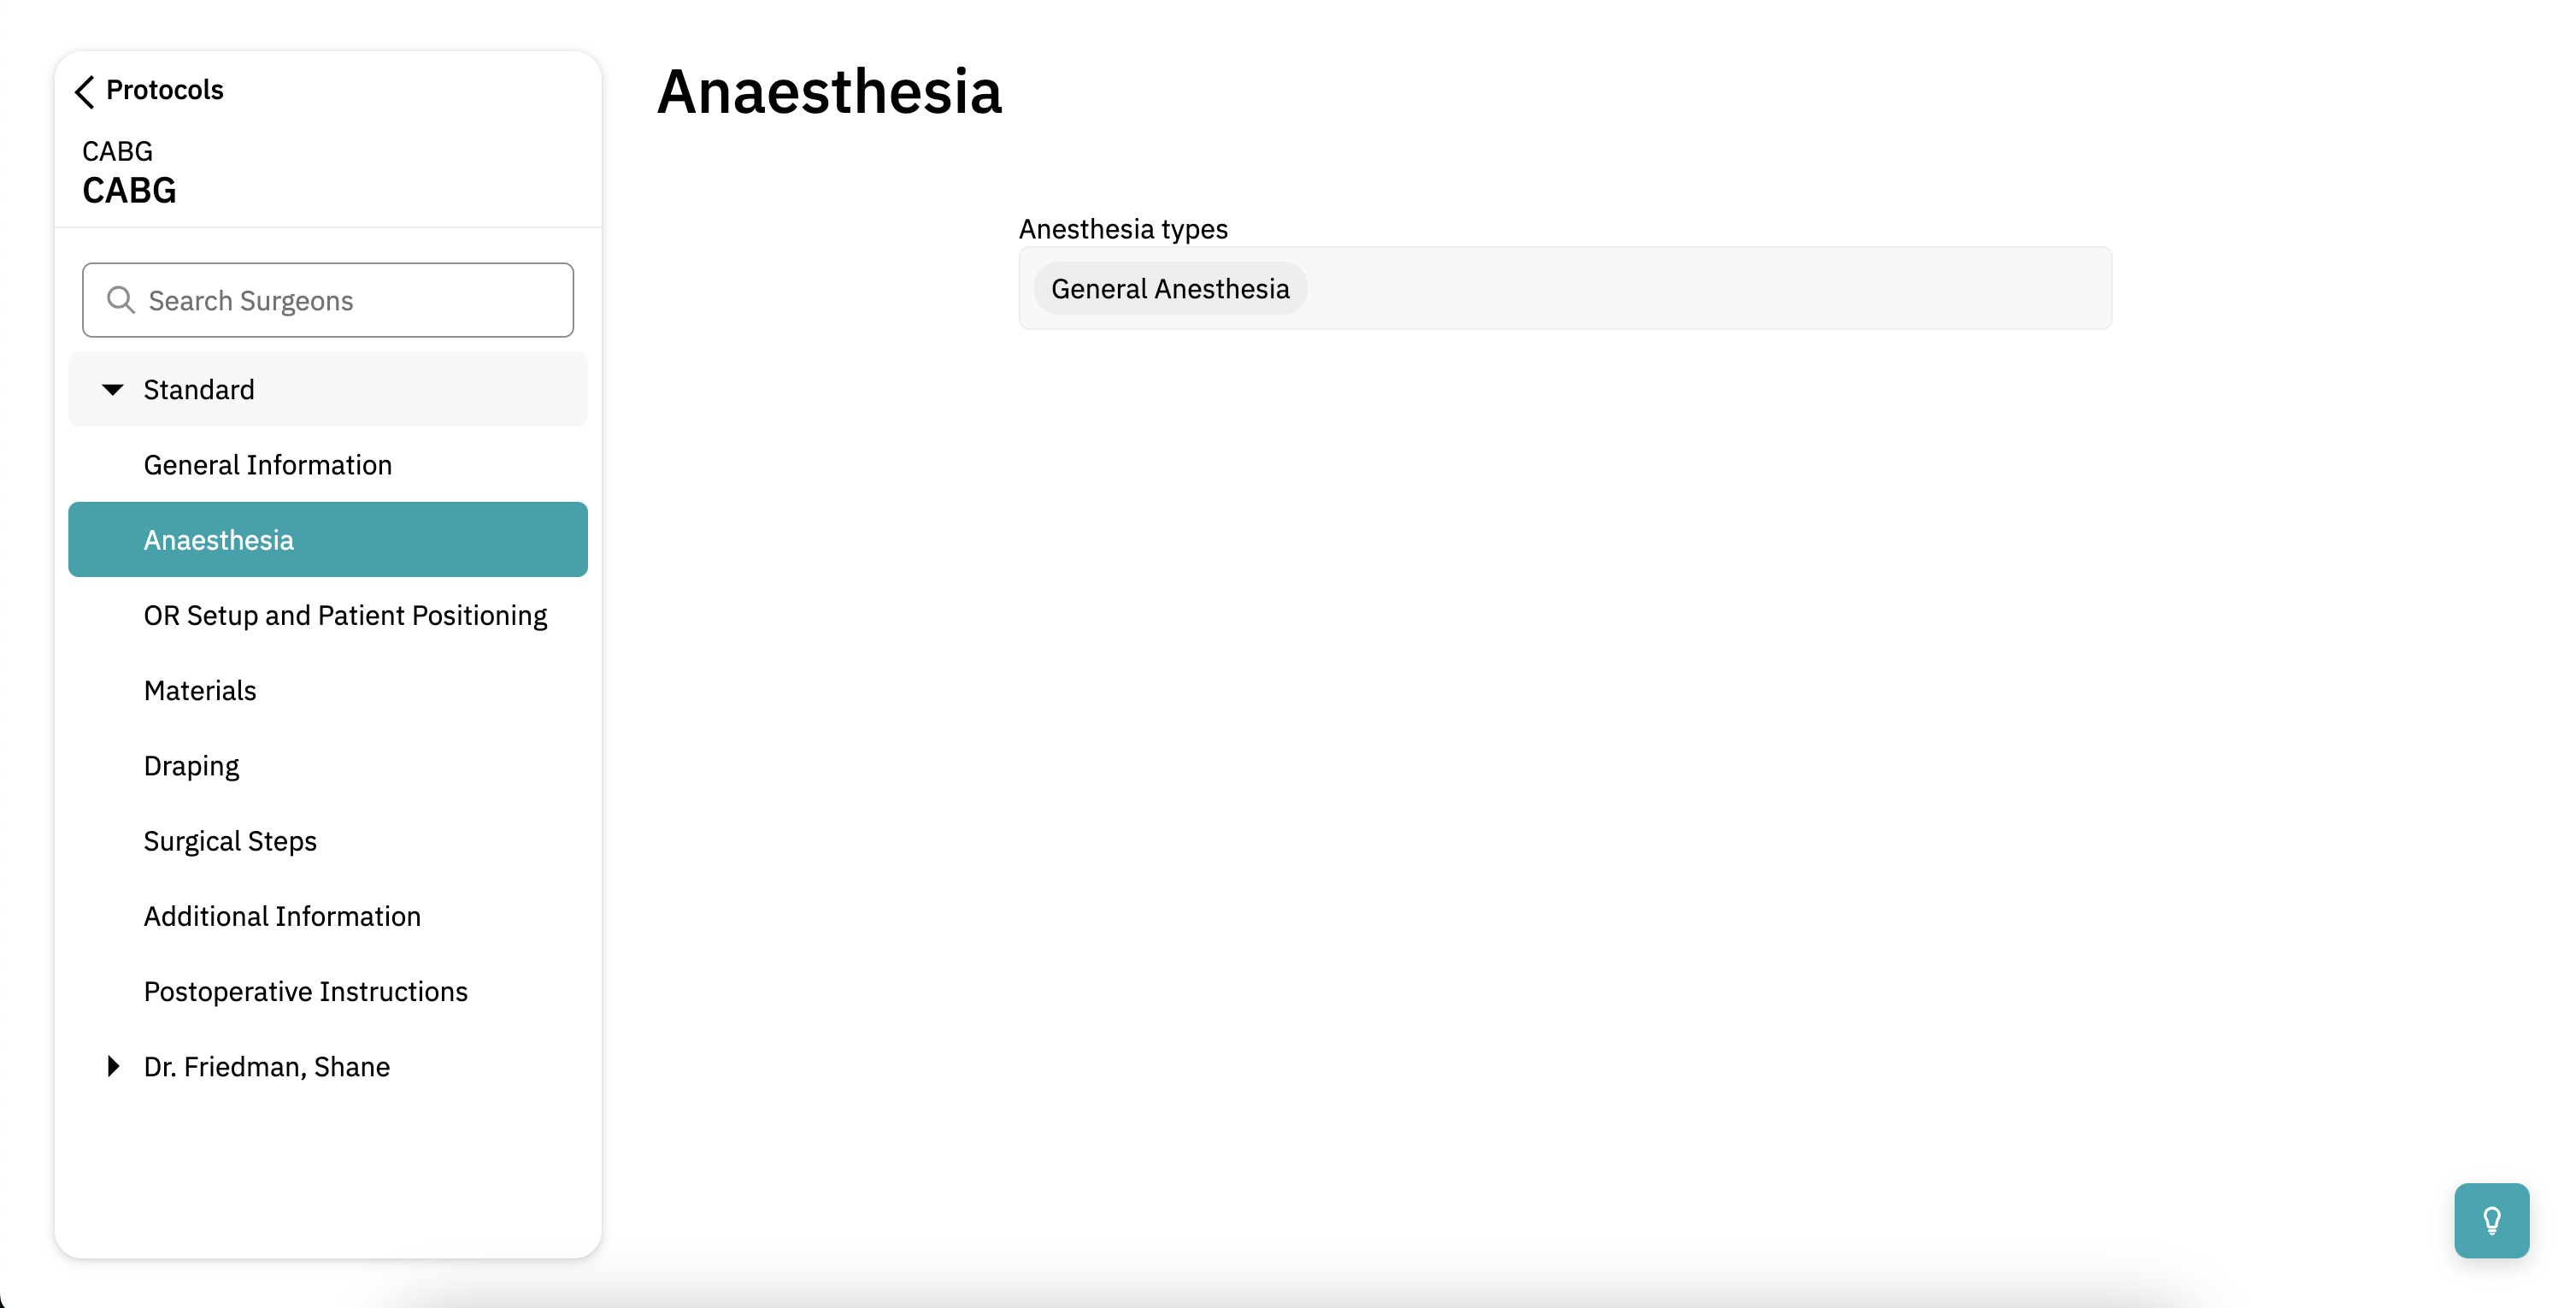
- Anesthesia: Click 'Anesthesia' to view the anesthesia information. This section includes the type of anestheia and potentially additional instructions or protocols.
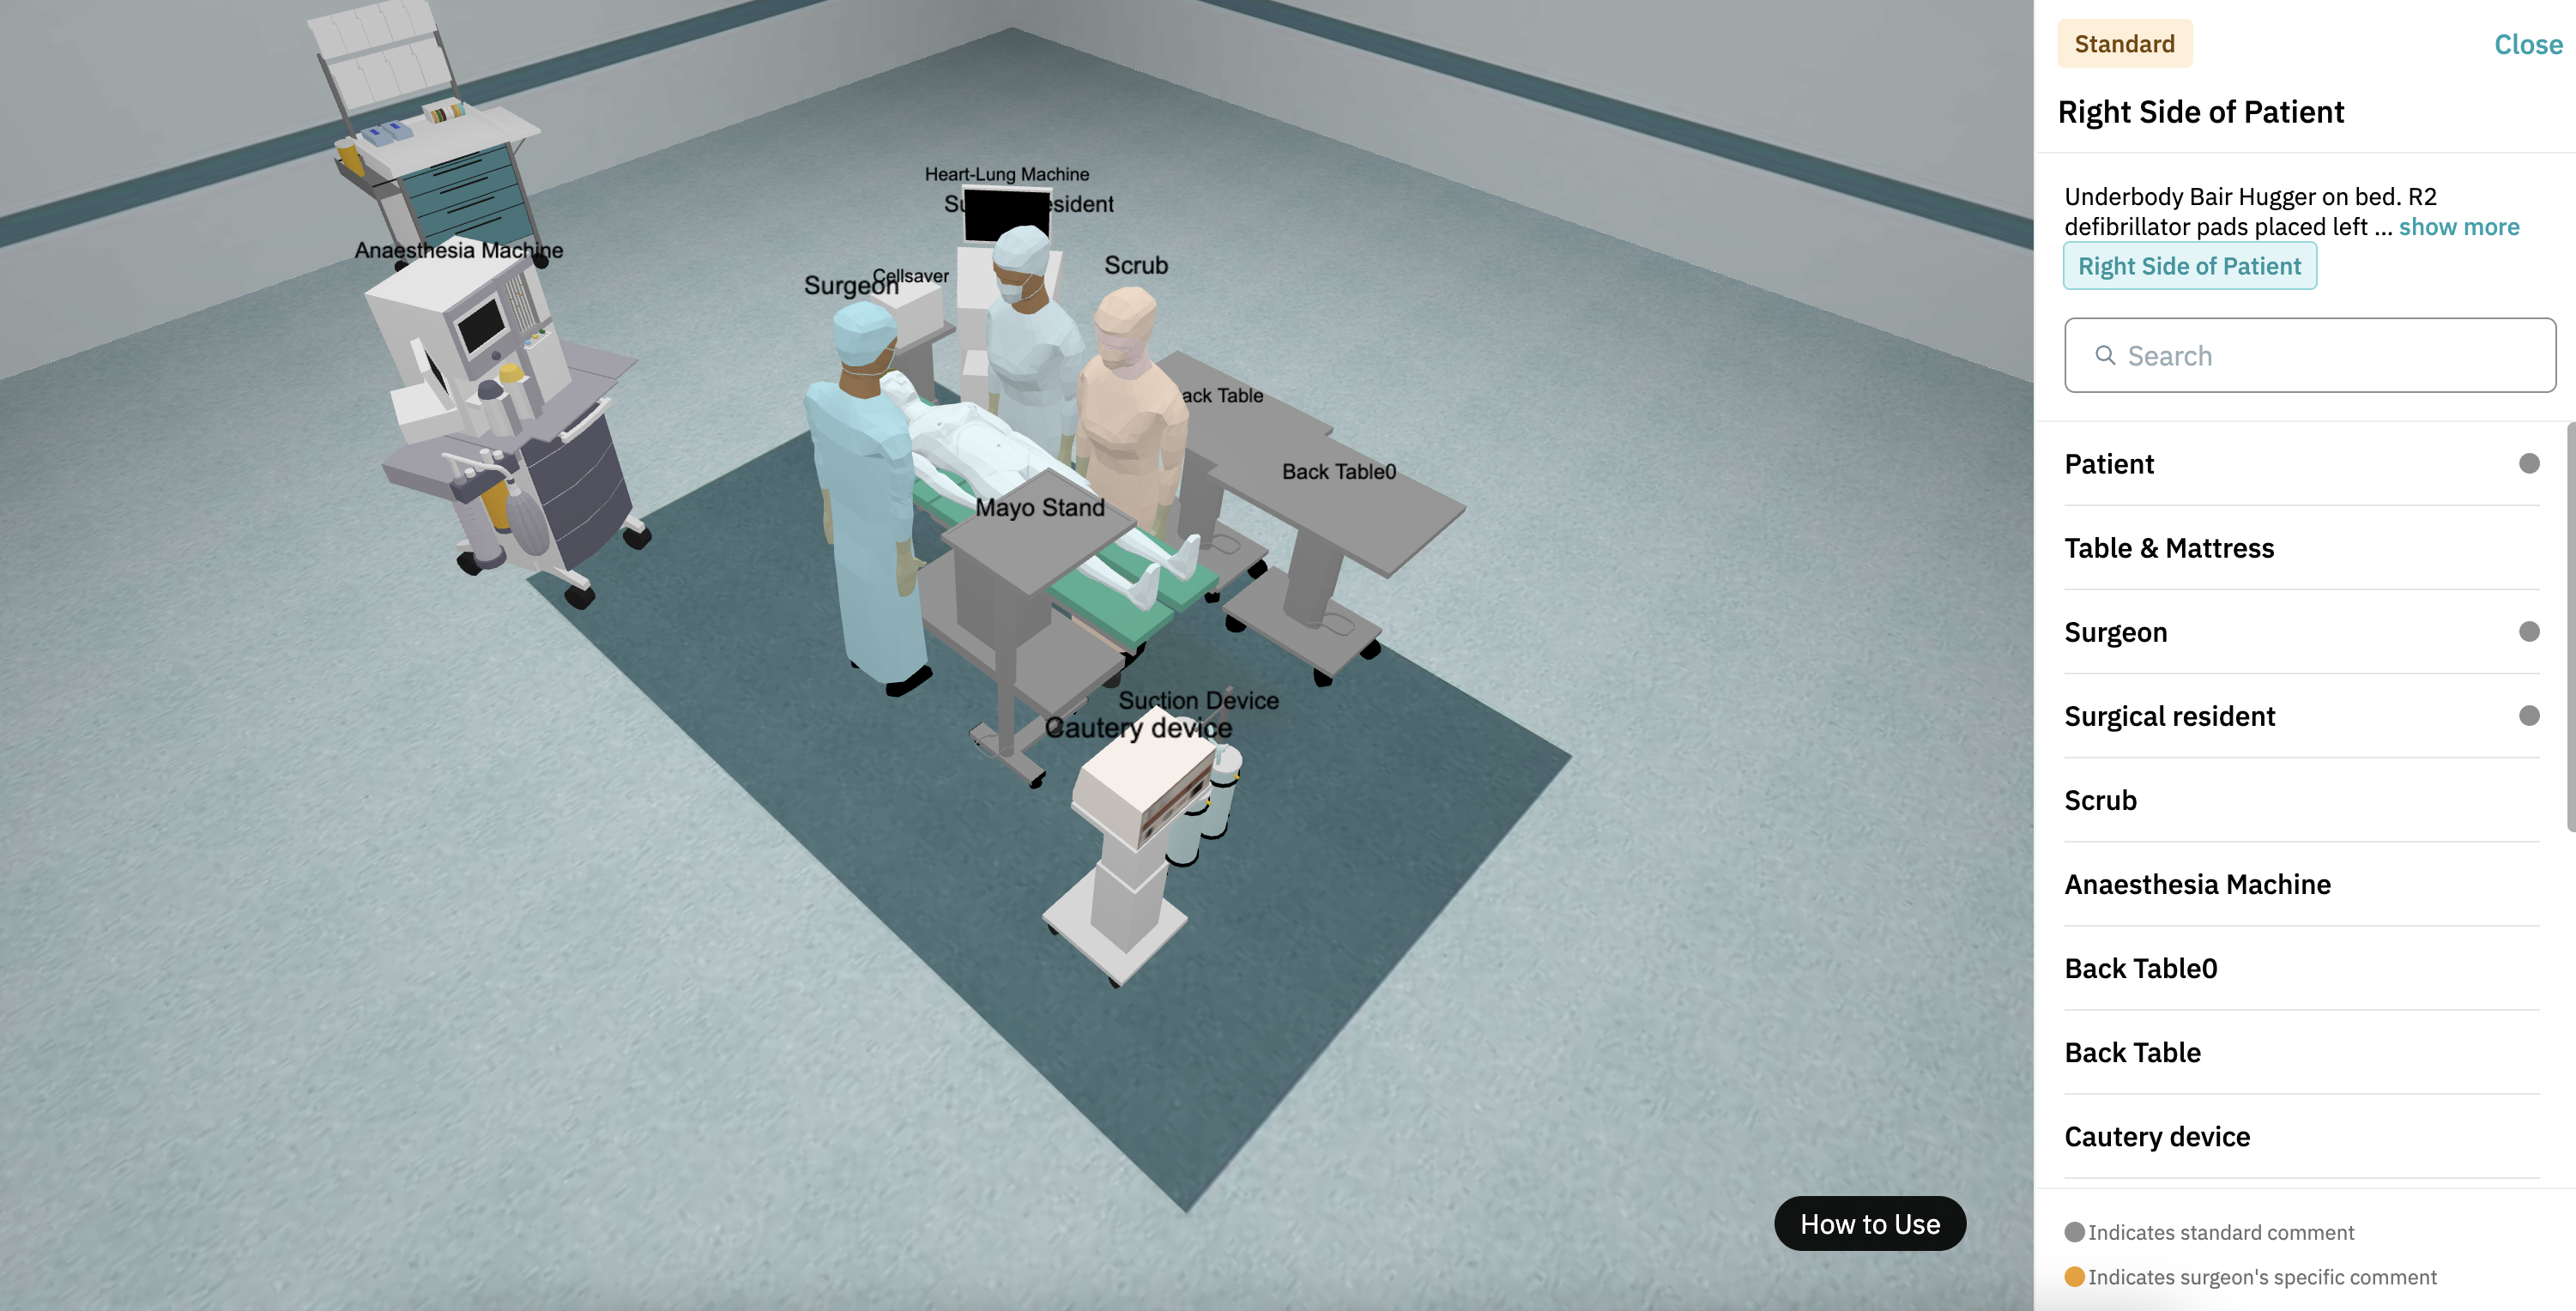
- OR Setup and Patient Positioning:
- Click on 'OR Setup and Patient Positioning'.
- Some procedures can be befored either on the left or right side of the patient. If both sides are relevant, they will be shown. If not applicable, you'll see 'Side not applicable'.
- Click 'Close' in the top right of your screen to return to the protocol overview.
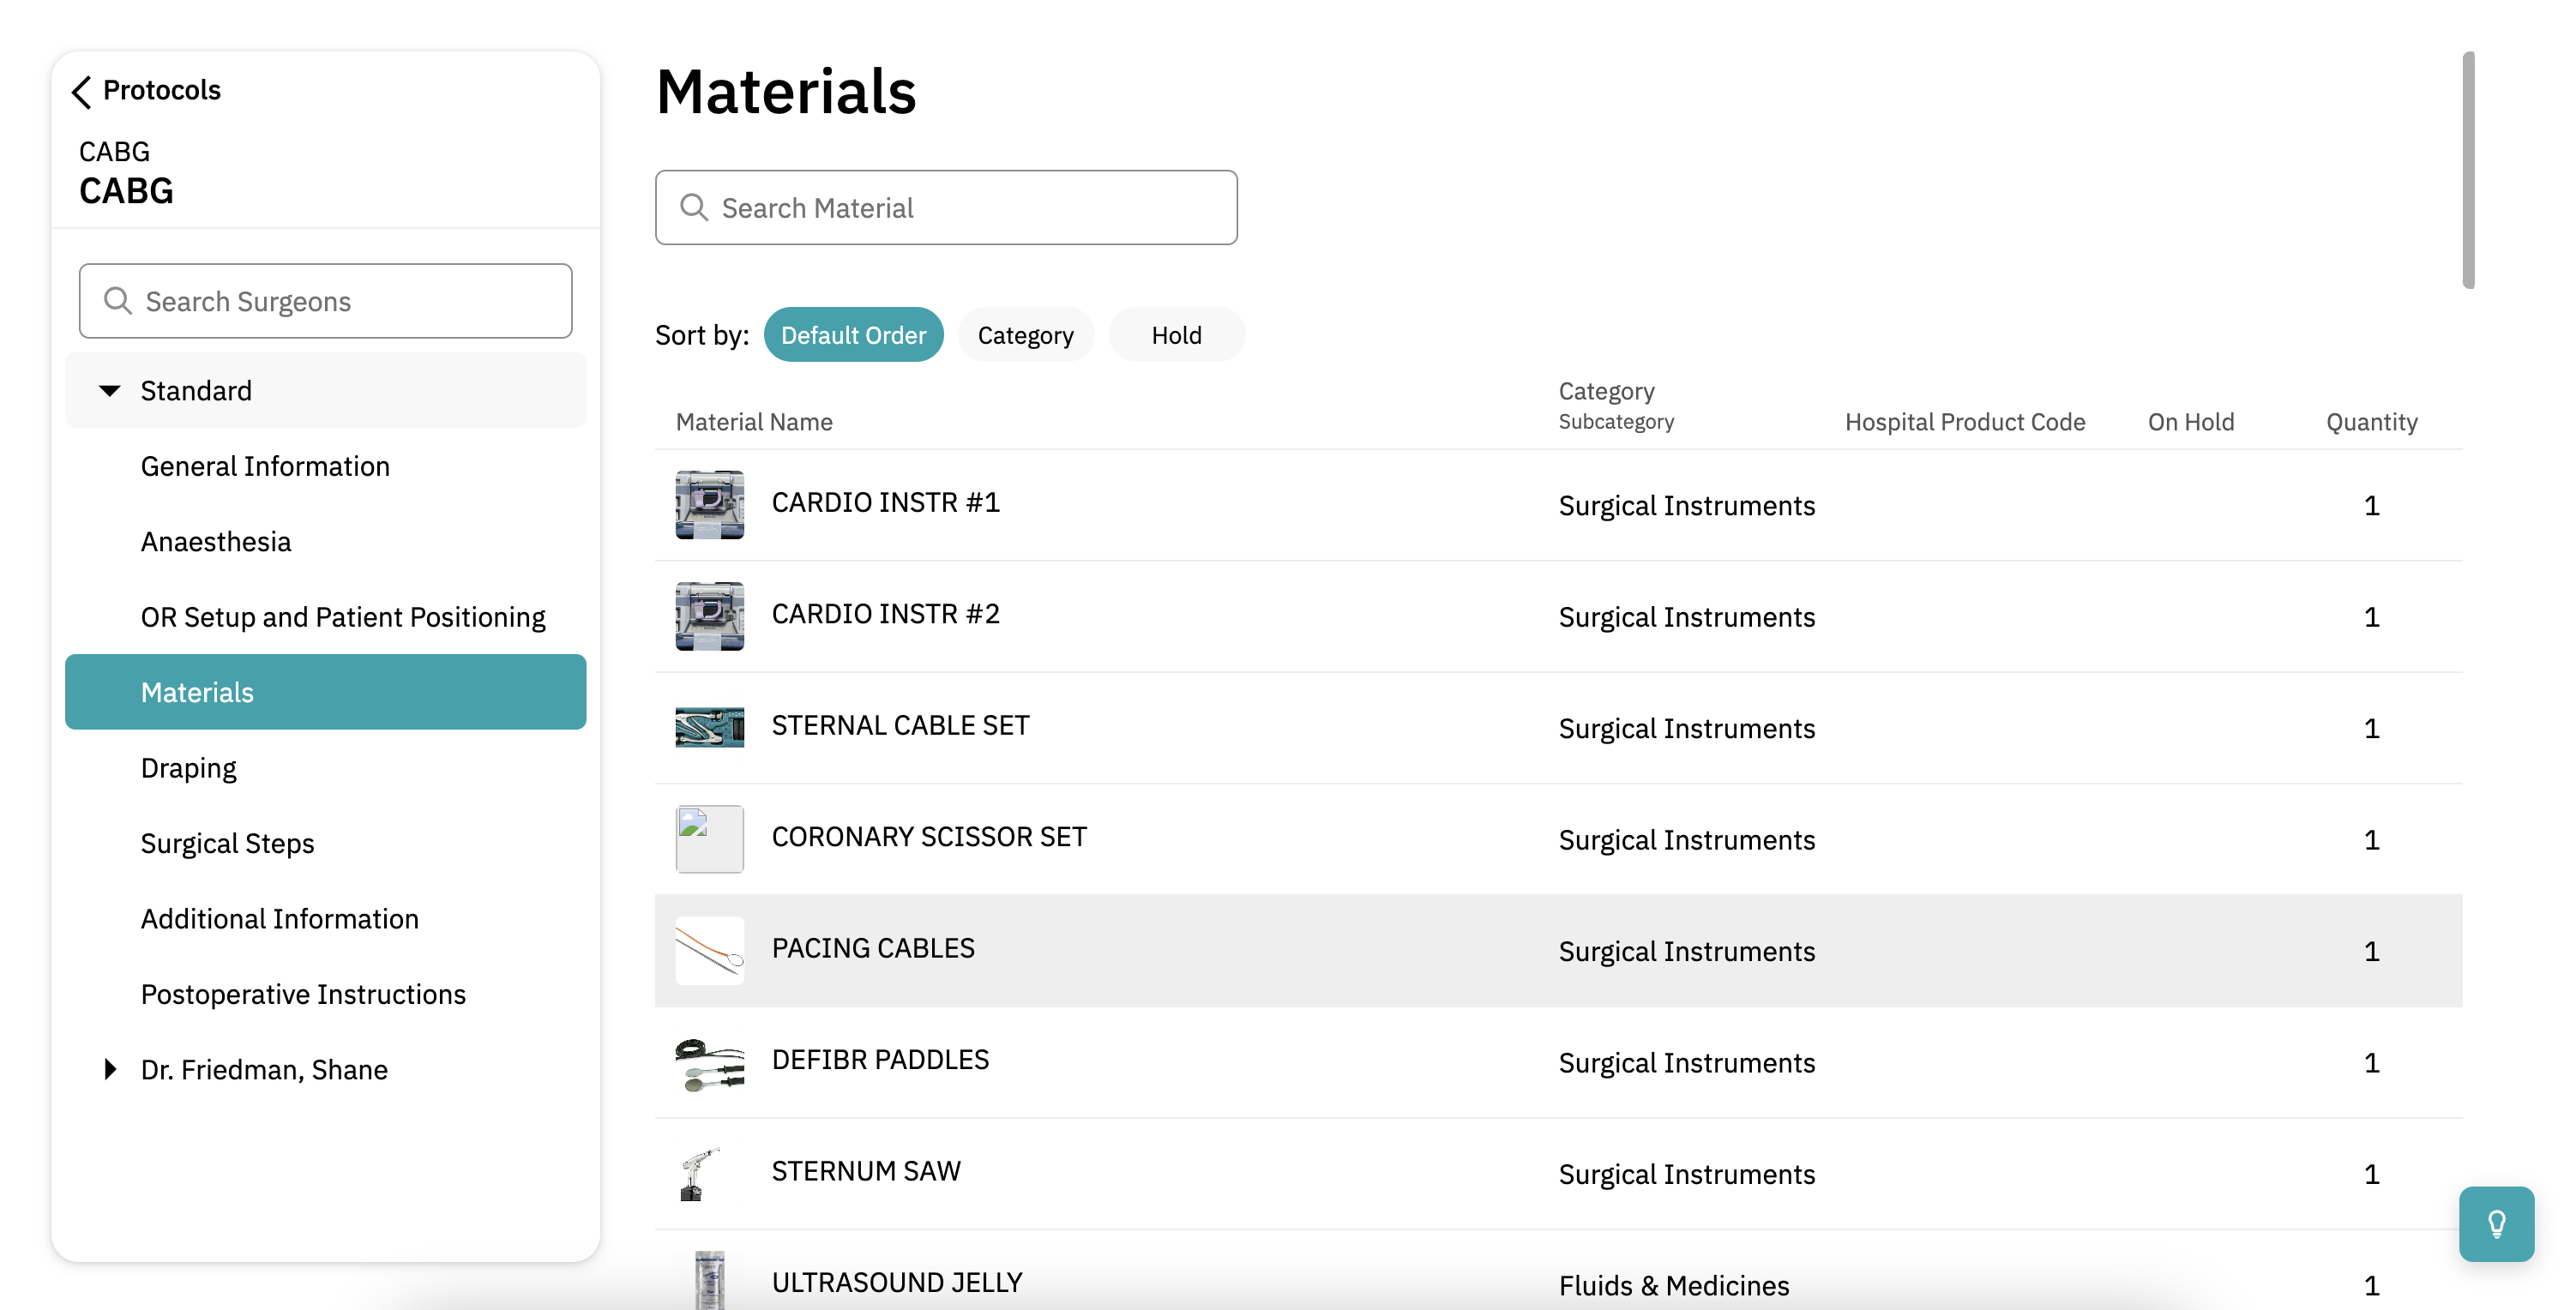
- Materials:
- Click 'Materials' for a complete list of what's needed for the procedure. The order is based on your hospital's workflow.
- You can switch views between: Default Order, Category, or Hold. This helps you quickly spot optional materials that may not need to be openend.
- Where possible, each item includes an image so you know exactly what to look for.
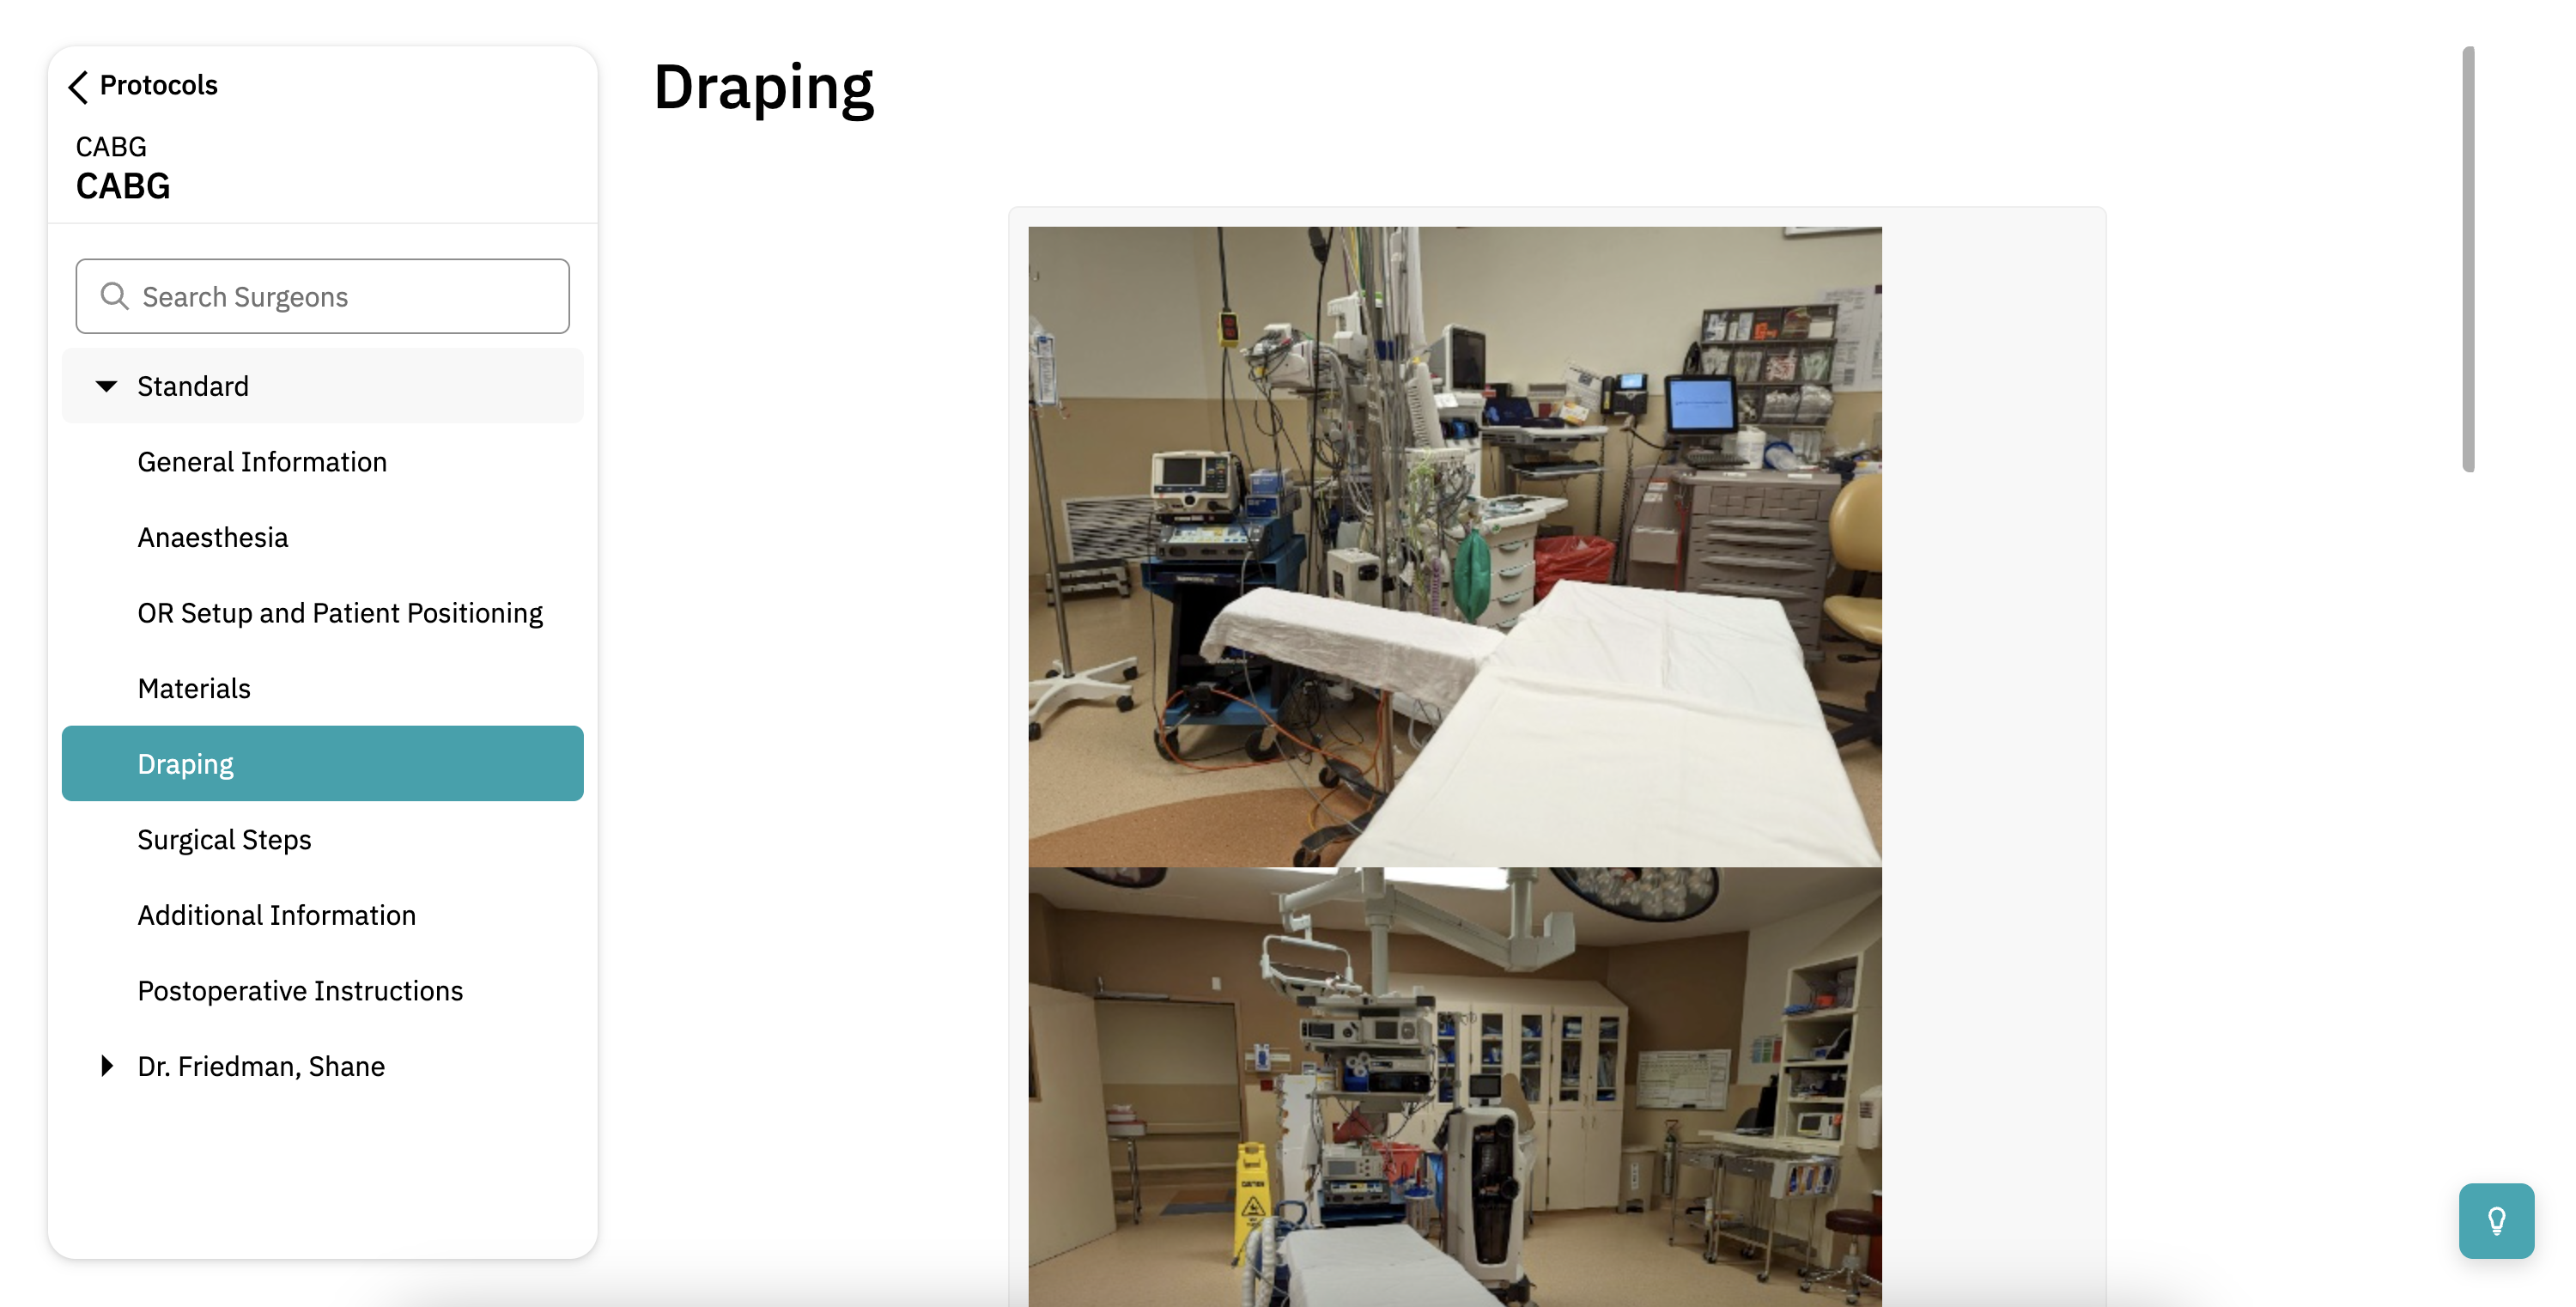
- Draping: Click 'Draping' to see how the patient should be draped.
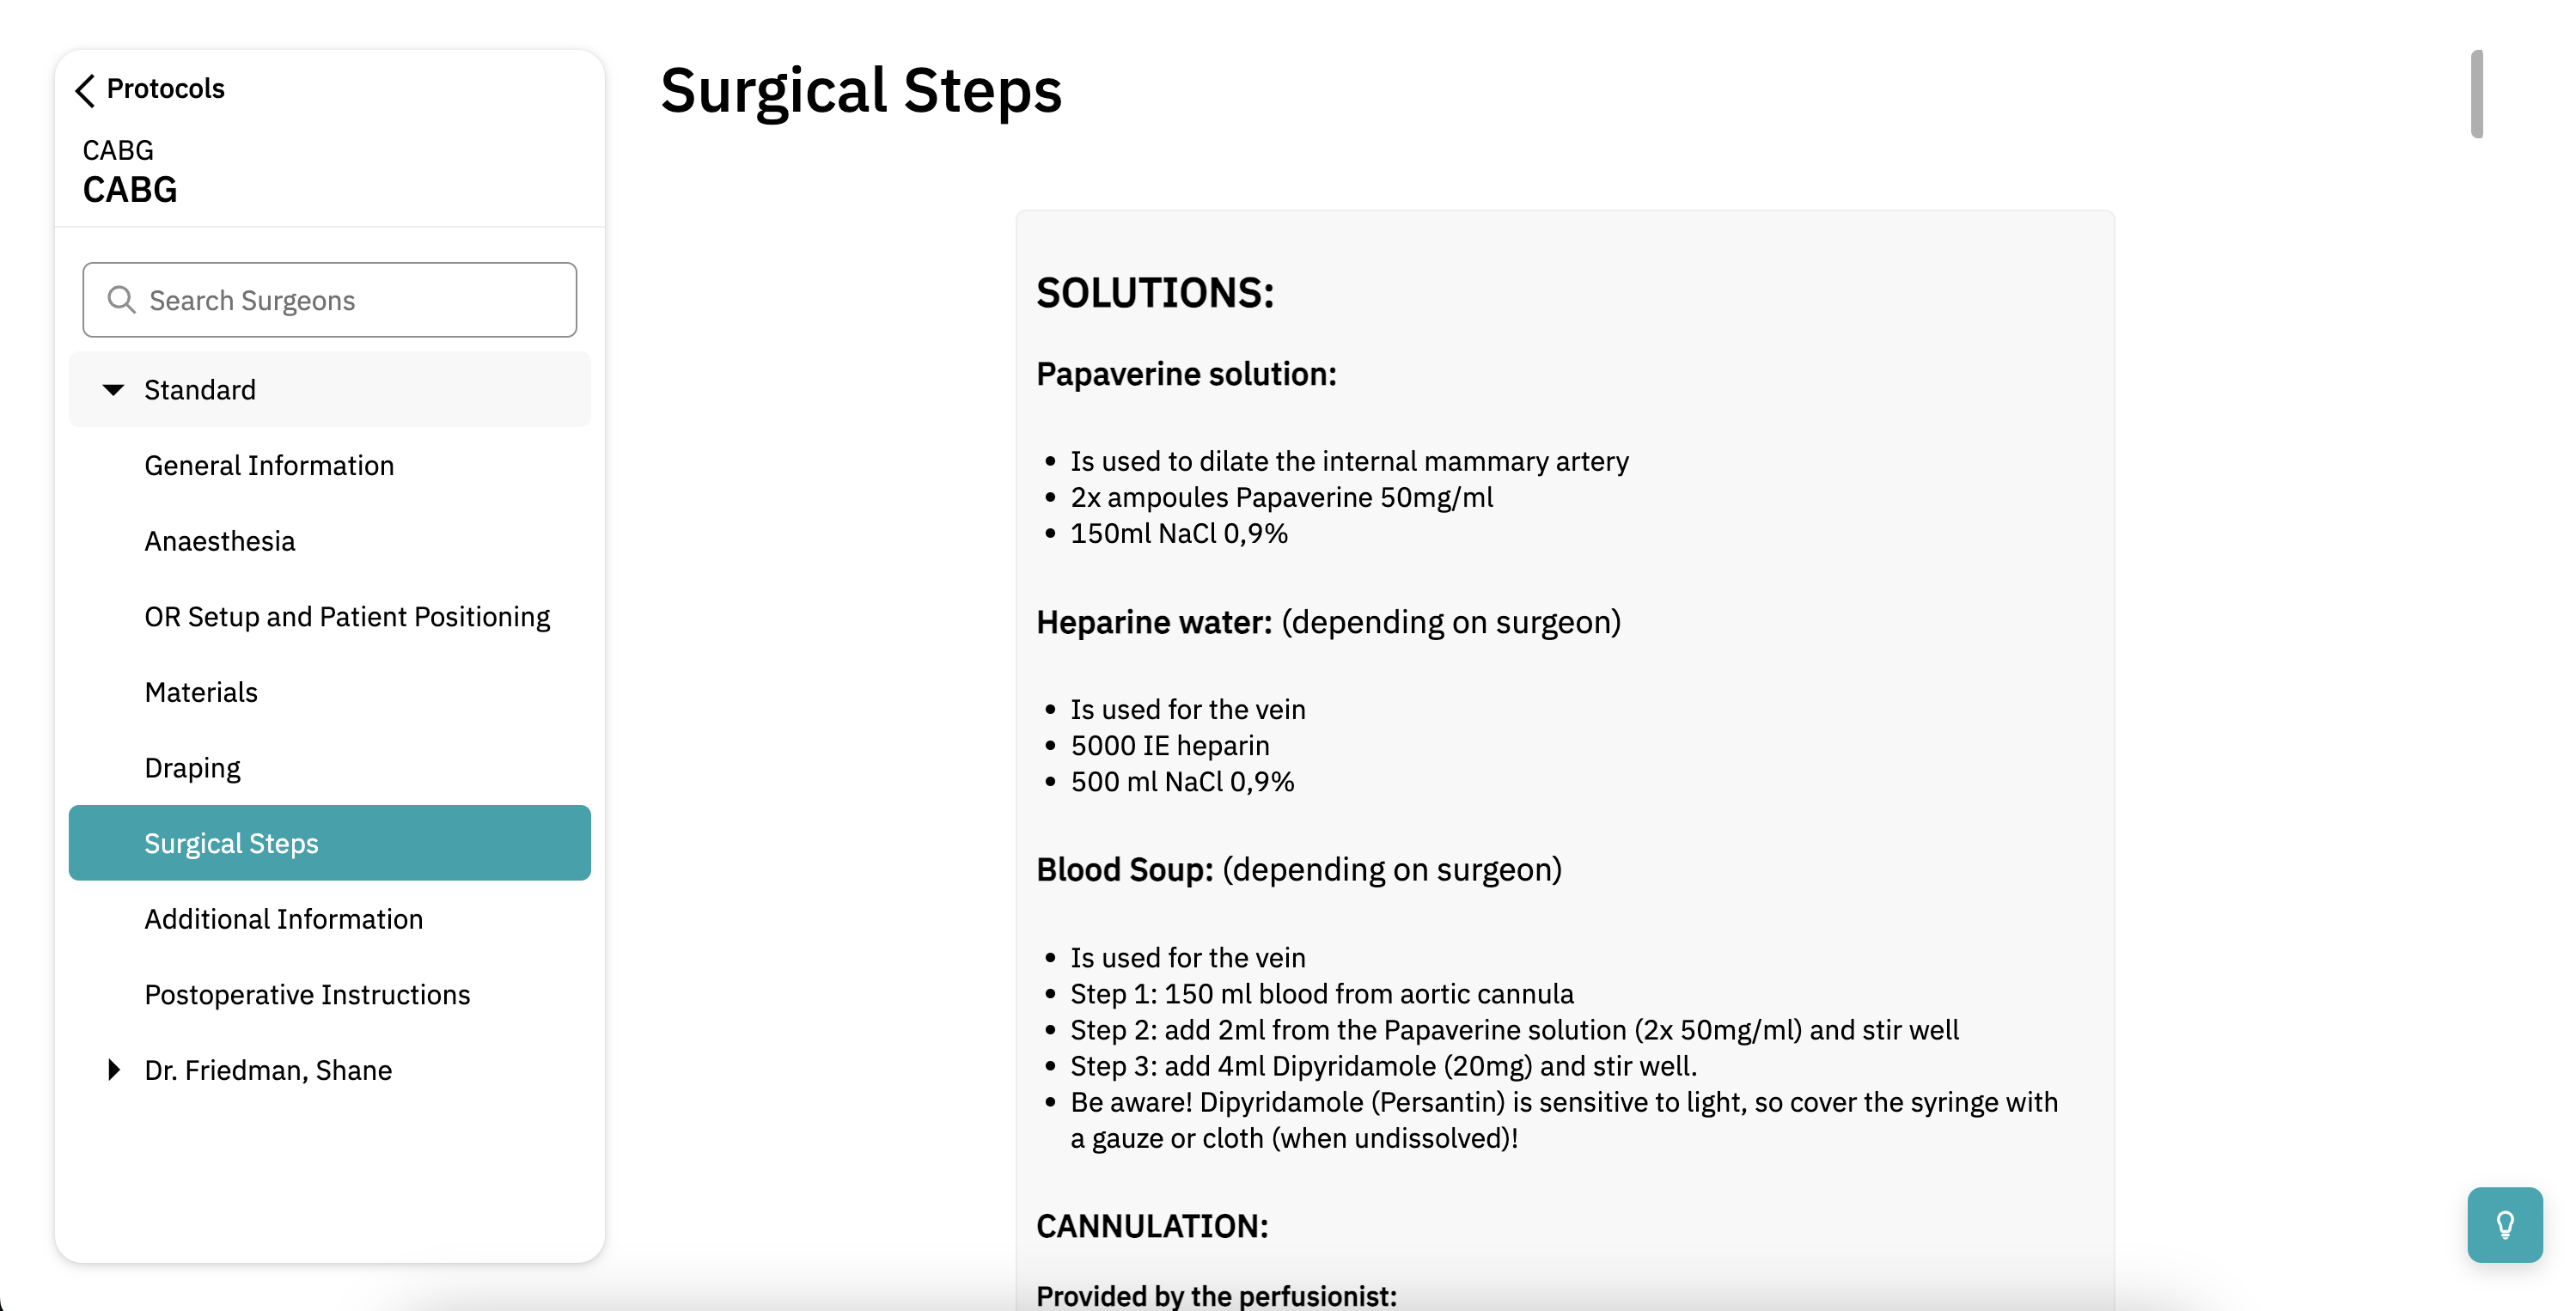
- Surgical Steps: In the Surgical Steps tab, you'll find a step-by-step overview of the operation, often supported by visuals or links.
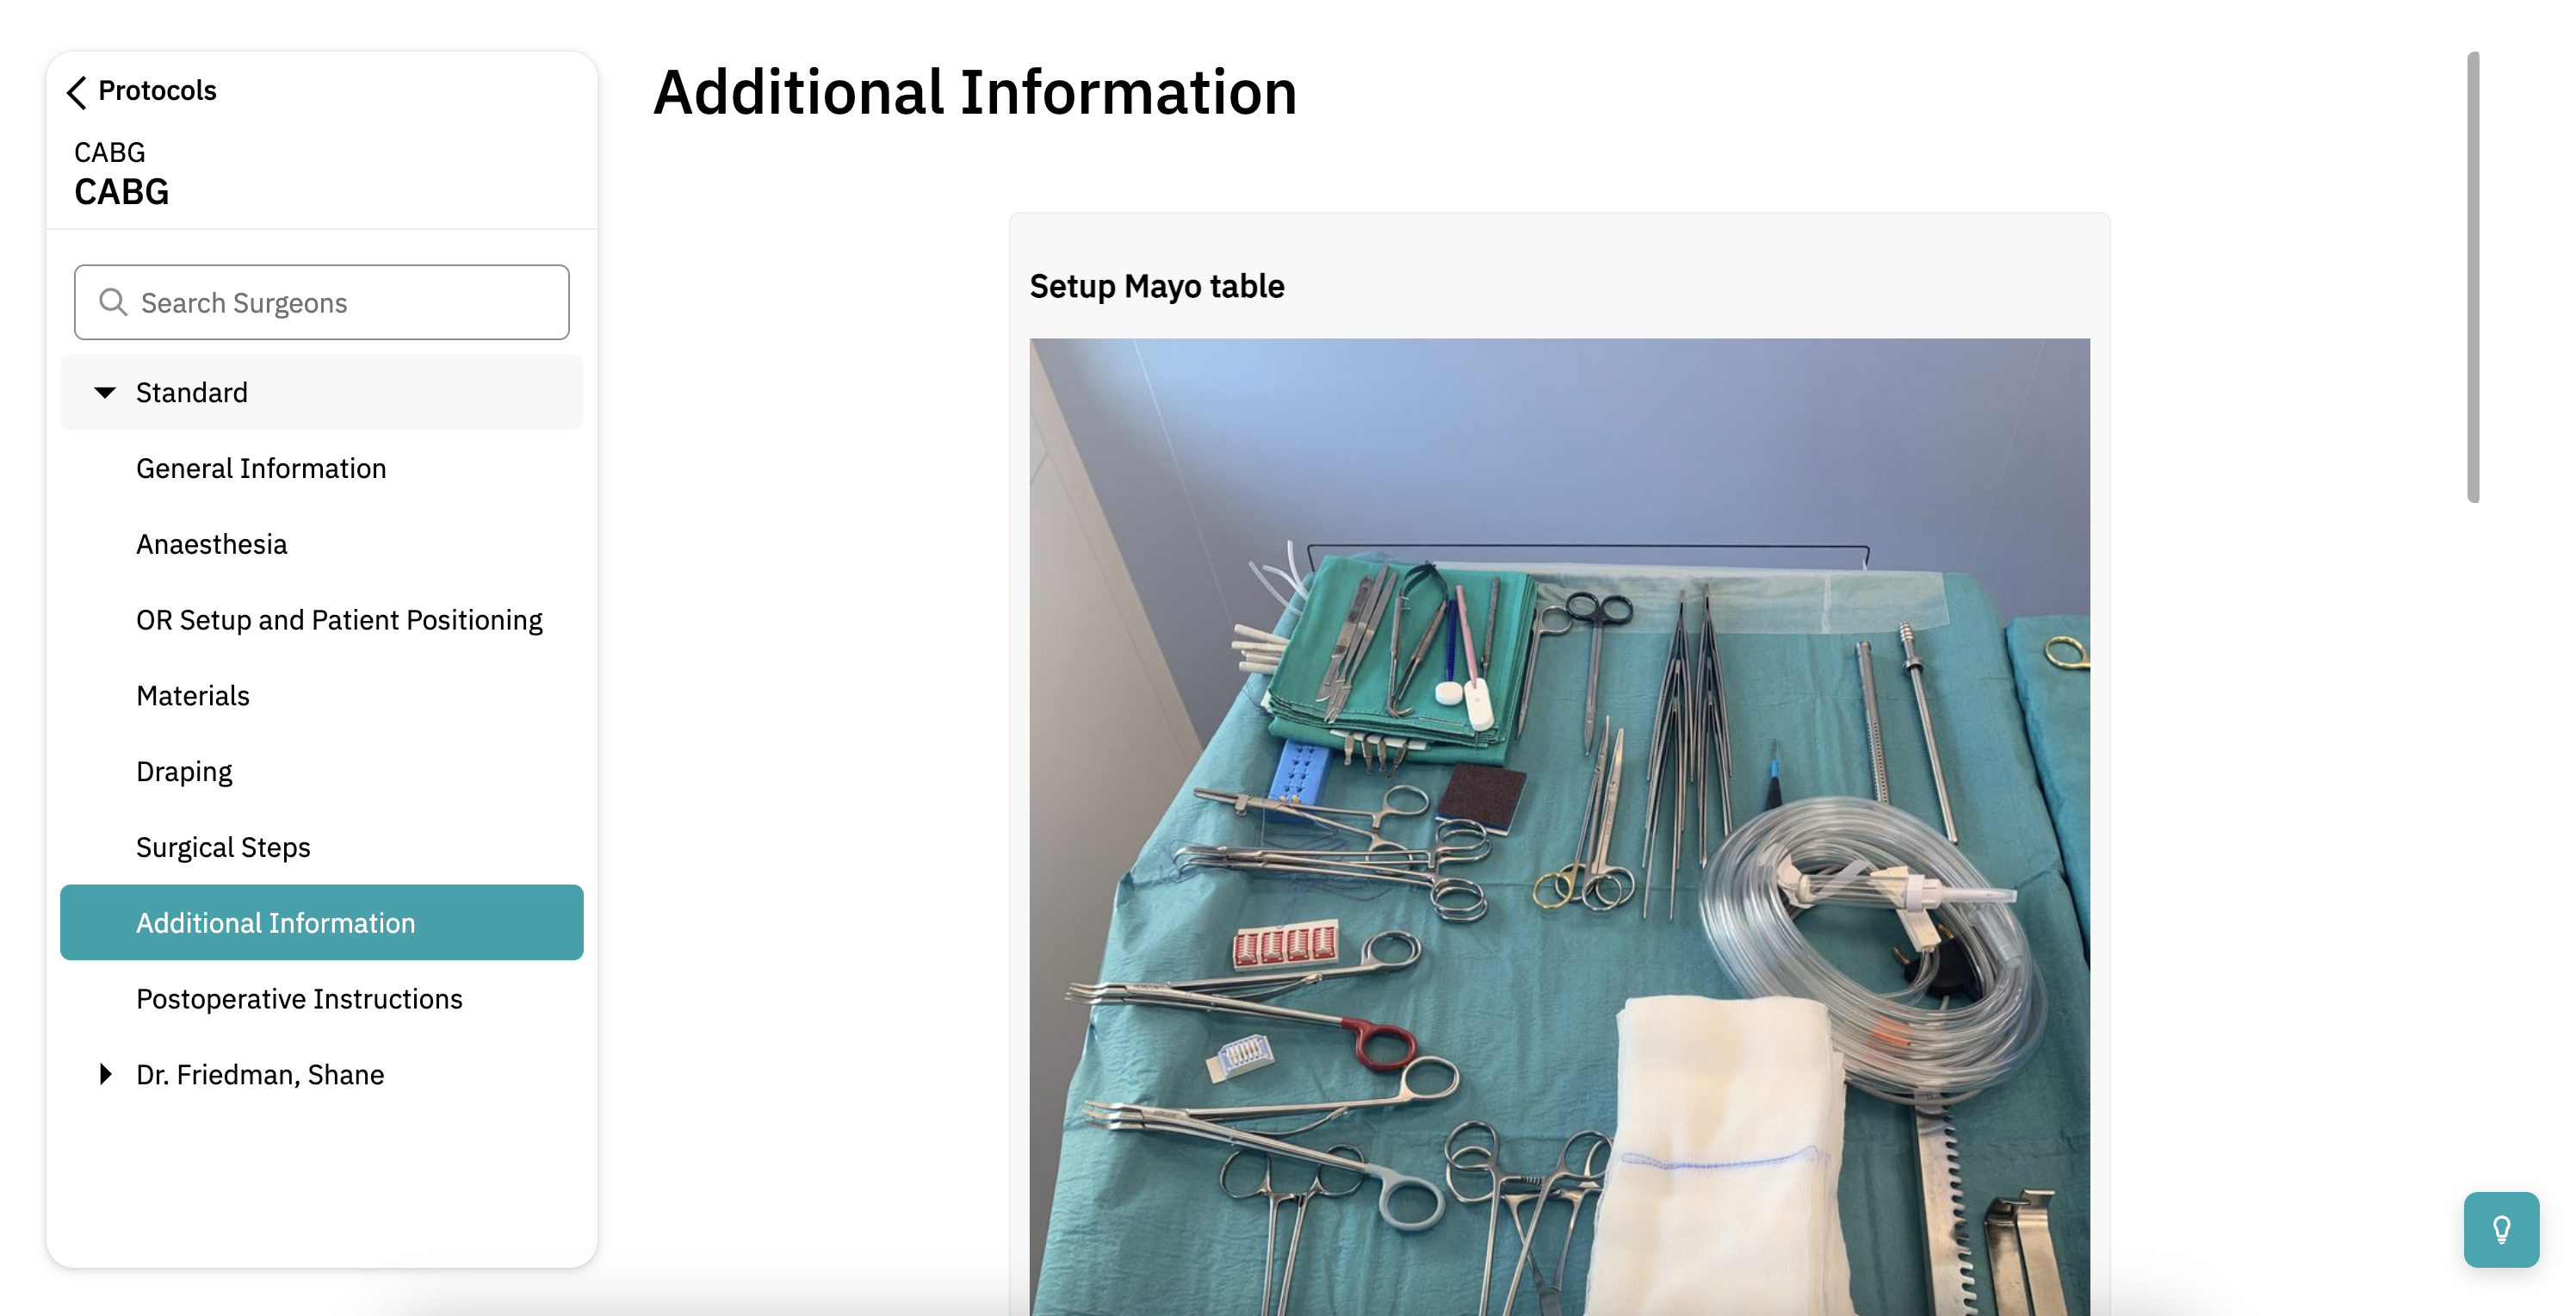
- Additional Information: Click 'Additional Information' to make sure you're fully prepared for the procedure.
- Postoperative Instructions: Click 'Postoperative Instructions' to review what's needed after the surgery.

Want to learn more? Check out our other guides on how to use Incision Assist!
Was this article helpful?
That’s Great!
Thank you for your feedback
Sorry! We couldn't be helpful
Thank you for your feedback
Feedback sent
We appreciate your effort and will try to fix the article