This guide explains how to add and manage draping information in the Incision Assist Manager.
Adding Draping Information
- Navigate to the Desired Protocol: Open the protocol where you want to include draping details.
- Access the Draping Tab: In the left-hand menu, click on Draping.
Adding Content
Text Box:
Use the text box to describe the draping methods in detail. Provide clear and precise instructions to ensure accuracy. You can also edit text to be bold, underlined, or italic.
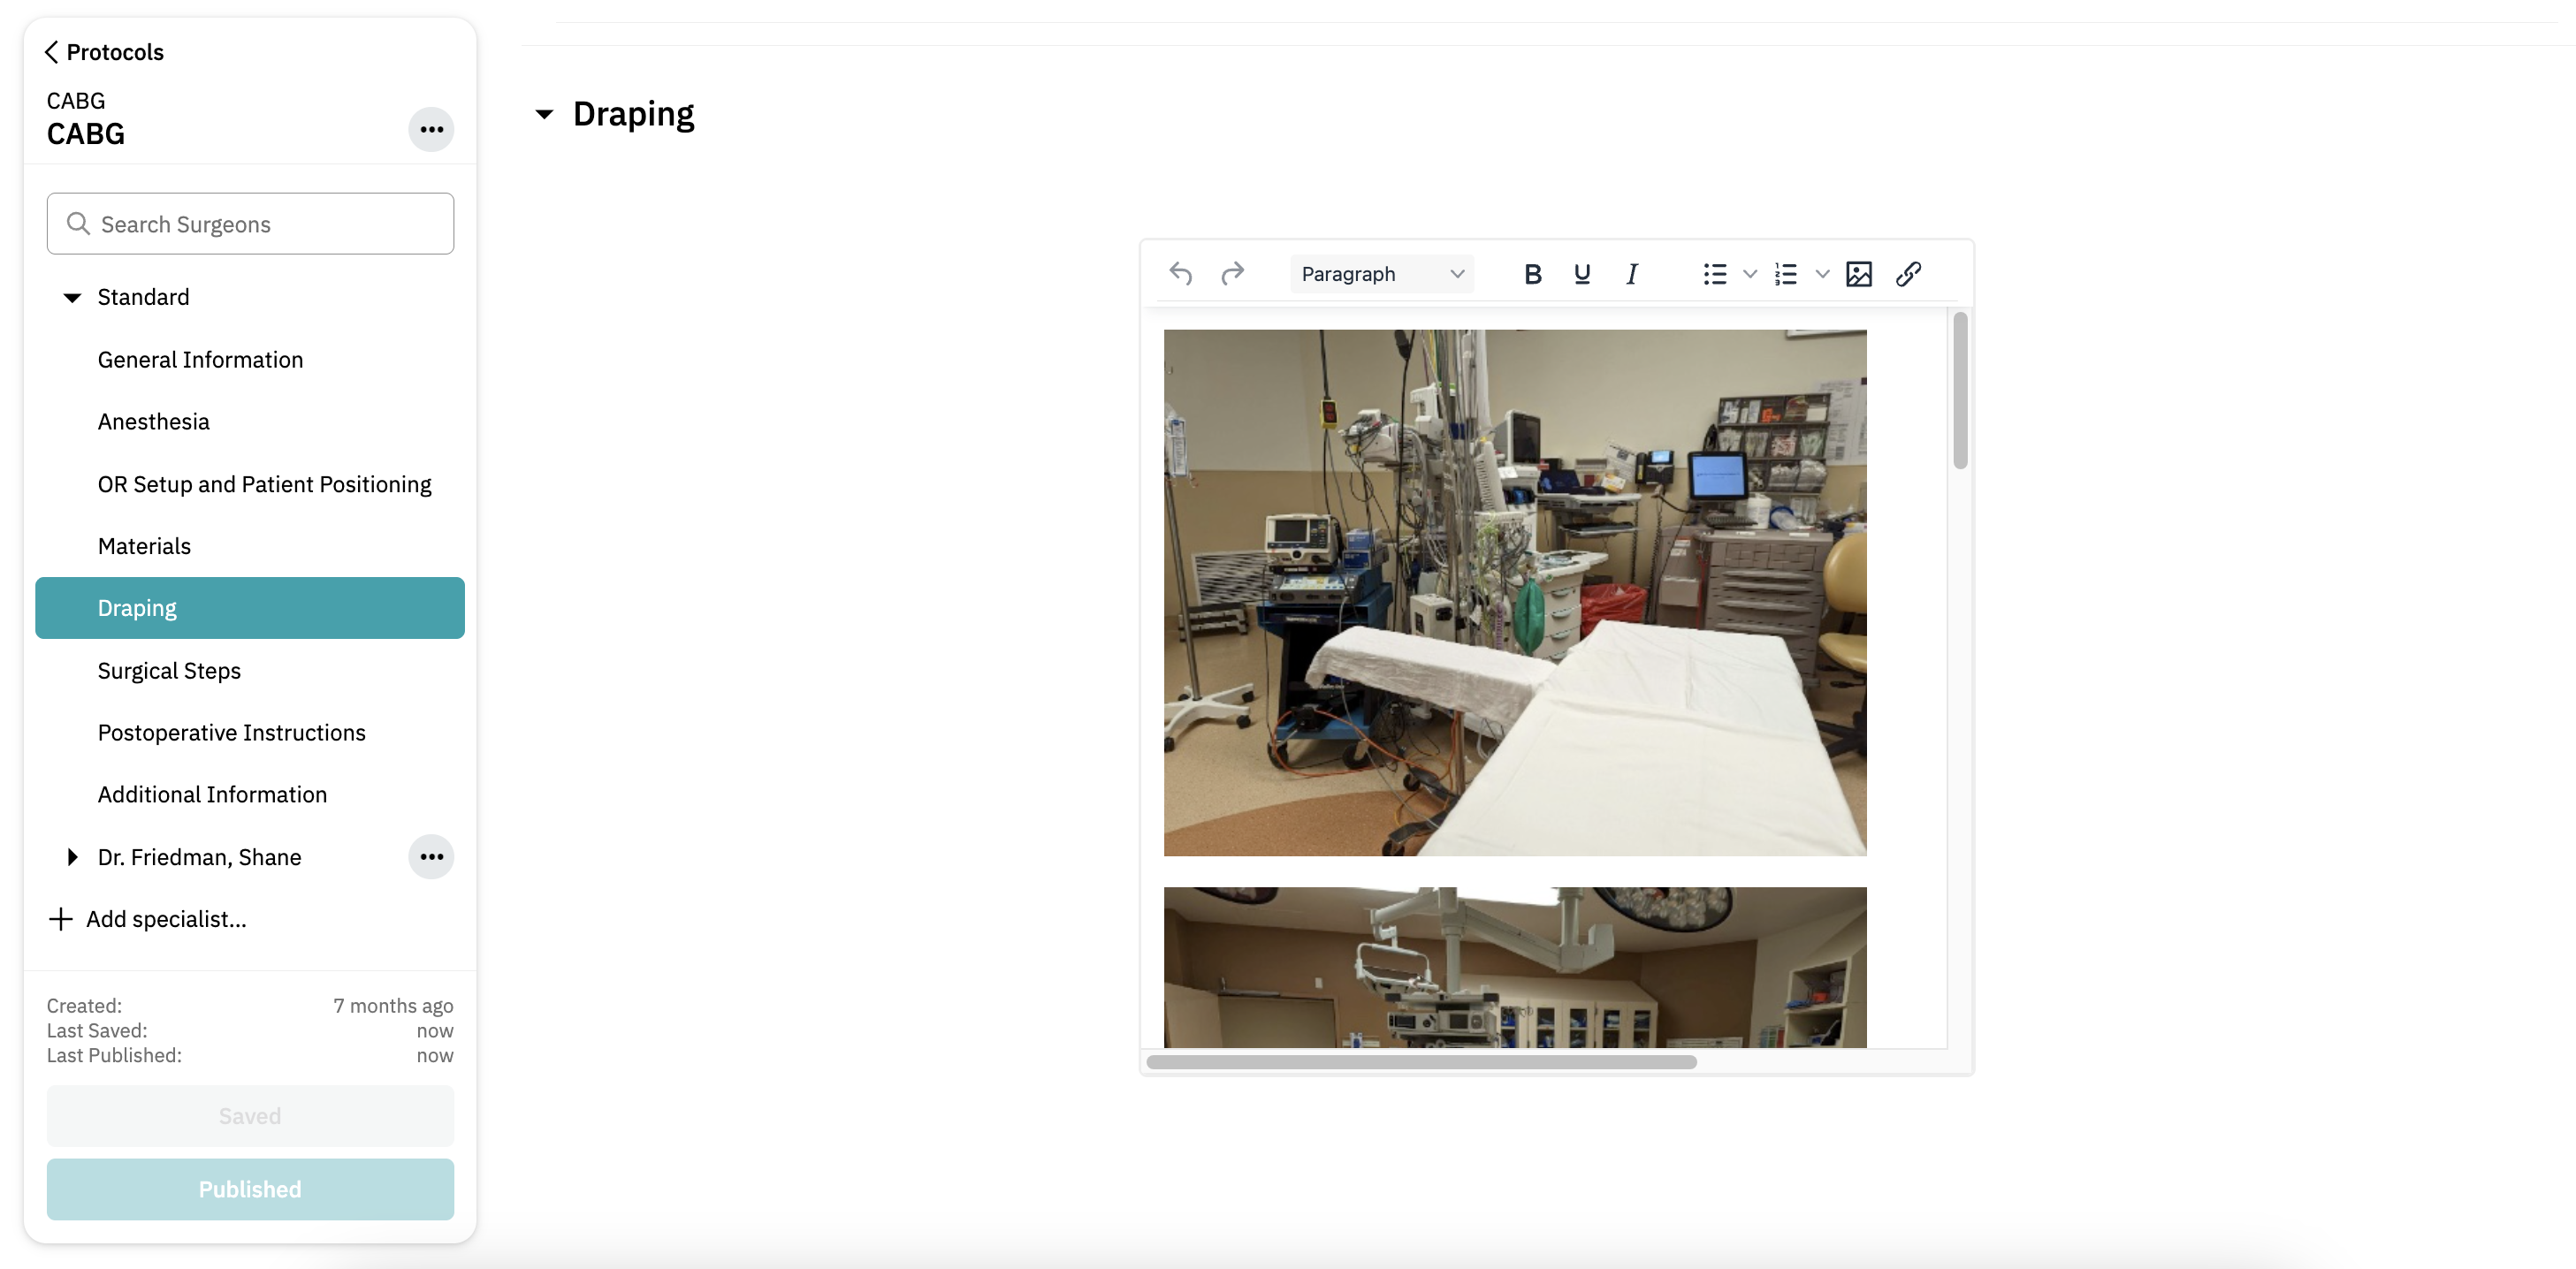
Images and Documentation:
You can upload images or link to external documentation to supplement your text. This helps provide a visual reference for the draping process.

Saving and Publishing
Save Your Changes: Click 'Save Changes'/'Save & Publish' at the bottom left to store your updates.
Publish Your Updates: When you’re satisfied with the draping information, click 'Publish' to make the edits visible in the Incision Assist app and Assist web.
By following these steps, you can ensure that your colleagues has comprehensive and accurate draping instructions available whenever they need them.
Want to learn more? Check out our other guides on how to use the Incision Assist Manager!
Was this article helpful?
That’s Great!
Thank you for your feedback
Sorry! We couldn't be helpful
Thank you for your feedback
Feedback sent
We appreciate your effort and will try to fix the article